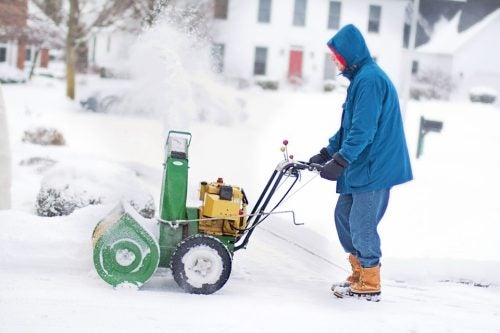
Like any machine, your snowblower will need to be maintained regularly to ensure optimum performance and longevity. There’s nothing worse than hauling your snowblower out after a big snow, only to find out that it doesn’t work. With a little regular maintenance you can ensure that your snowblower starts up smoothly – year after year.
Oil Changes

This task should take you about one hour, and should be performed after every 25 hours or so of operation. While most snowblower engines are similar, you should double check your owner’s manual before performing any type of maintenance. Here are basic oil change instructions:
1. Remove the oil drain plug – Usually this is located at the back of the machine. Ensure you have an old pail or pan underneath to catch the dirty oil. You may need an adjustable wrench to get the plug off, and if the oil drains slowly put blocks under the front of the machine to prop it up.
2. Replace the oil drain plug – It is best if you rewrap the end of the pipe with Teflon tape first to ensure a tight fit and no leaks. Do not overtighten.
3. Measure the dirty oil – In case you don’t have the owner’s manual, this is a good way to find out how much oil you need.</
4. Add new oil – Use 5W-30, or whatever your manual recommends. The best way to add oil is with a funnel.
5. Check the oil level – To ensure you have put in enough oil.
6. Change the oil filter – this should be pretty easy.
That’s it!
Cleaning Spark Plugs
Dirty spark plugs can lead to poor performance, so after you change the oil you may want to check them for dirt/debris and also for the proper gap.
1. Pull off the spark plug wire – This may take a bit of effort.
2. Loosen the spark plug – You’ll need a 13/16” spark plug socket for this.
3. Unscrew the spark plug – Be careful that you don’t knock dirt in the hole when you do this.
4. Check the condition of the spark plug – a good spark plug will have the following:
• Center electrode (round part in the middle) is solid, not worn away.
• Insulator (part surrounding electrode) is in good condition and not too dirty.
• Ground electrode (part on top) is not overly worn.
If everything is in good condition then you can continue.
5. Check the gap – You will need a gap-checking tool (available at the hardware store; they are not expensive) and your owner’s manual to know what the proper gap is. Slide the tool between the two electrodes and it should just fit. If it is too loose, bend the electrode down (press it against something flat) or use the lever tool on the gap-checker to bend it up if it is too tight.
6. Clean the spark plug – Use some 400 grit sandpaper to clean off any carbon deposits on the center and ground electrode.
7. Replace the sparks plugs – It is recommended that you apply a bit of copper-based anti-seize compound to the threads of the plug before you replace it, as it prevents the plug from seizing should the engine get too hot.
Other Maintenance
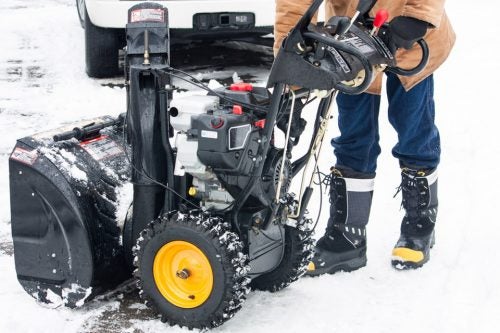
Before winter starts, you should do the following:
• Check all moving parts, bolts, and belts: replace anything that appears worn, and tighten all bolts.
• Turn the snowblower on its side and ensure the scraper bar (which scrapes snow off the ground) is intact.
• Check the auger to ensure that it rotates smoothly, and there isn’t too much room between the rubber and the metal.
• Ensure your tires are inflated properly.
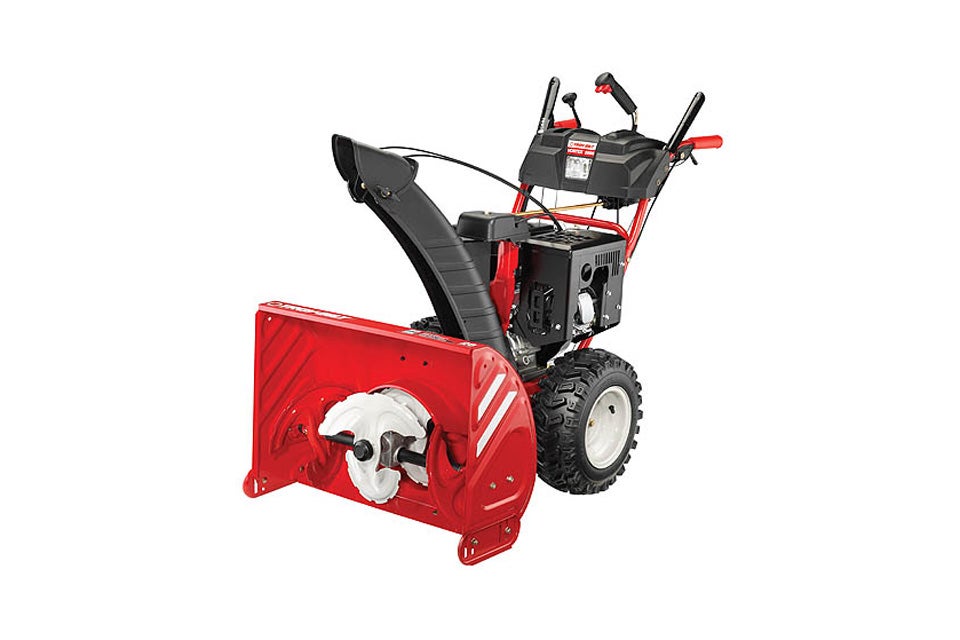
• Lube the drive and chassis, plus the gear box if you have a dual-stage snowblower.
• Fill the tank with fresh gas, and add some methanol once or twice a year to prevent condensation.
With just a few hours of maintenance your snowblower will run smoother and always be ready to start when you need it.